
In this guide
Better safari photographs usually begin before you lift the camera. Light, distance, the background and the time you can spend with an animal matter as much as equipment. Tell your planner what you enjoy photographing so the route supports that interest.
Camera bodies: familiarity before price
A camera you know well is more useful than an unfamiliar professional body bought just before departure. Practise changing exposure, autofocus mode and burst settings without searching menus. Check that you can review sharpness and recover quickly from an accidental setting change.
A second body can reduce lens changes in dusty conditions, but it is optional. Balance convenience against luggage weight and how much equipment you want to manage in a moving vehicle. Borrowing or renting requires practice time too.
Choosing lenses for wildlife and landscapes
A versatile telephoto zoom, such as a 100–400mm or comparable range, is a useful starting point for many wildlife situations. Actual field of view depends on sensor size. Birds and distant subjects may call for more reach, while an elephant near the vehicle may require less.
Pair the long lens with a wider option for landscapes, animals in their habitat and life around camp. Avoid filling every frame with a tight portrait: space around an animal can tell the story of where it lives. There is no need to carry every focal length if you know which images matter most to you.
Phone photography on safari
Phones are well suited to landscapes, vehicle-level scenes, camp details and animals that are already reasonably close. Clean the lens, keep the phone stable and use its genuine optical options where available. Heavy digital zoom often sacrifices detail without solving the problem of distance.
Tap to select the subject and inspect exposure, especially against bright sky. Try wider compositions rather than endlessly zooming towards a small animal. Keep the device secure and inside the safe viewing area; never lean out or approach wildlife for a phone photograph.
Light and safari timing
Low-angle light near the start and end of the day can reveal texture, warm colours and attractive shadows. Early departures help, but the best position still depends on animal movement and access. Ask the guide about light without expecting an animal to cooperate with a planned frame.
Front light shows detail, side light adds shape and backlight can create rim light or silhouettes. Overcast conditions can work well for softer portraits. Midday is not automatically wasted: consider behaviour, shade, environmental scenes or time to review and back up images.
Wildlife camera settings: useful principles
Shutter speed
Choose speed for the subject's movement and your own stability. A resting animal needs a different approach from a running cat or a bird taking off. Review motion blur and adjust; do not assume image stabilisation freezes a moving subject.
Aperture and depth of field
A wide aperture can isolate one face, but a group of animals may need more depth of field. Focus carefully on the intended eye or subject and consider whether the background supports the image.
ISO and autofocus
Raise ISO when needed to maintain a useful shutter speed. A sharp image with some noise is often more useful than an unintentionally blurred one. Practise continuous autofocus and subject tracking before travel; performance and controls differ between cameras.
Animals in motion and bird photography
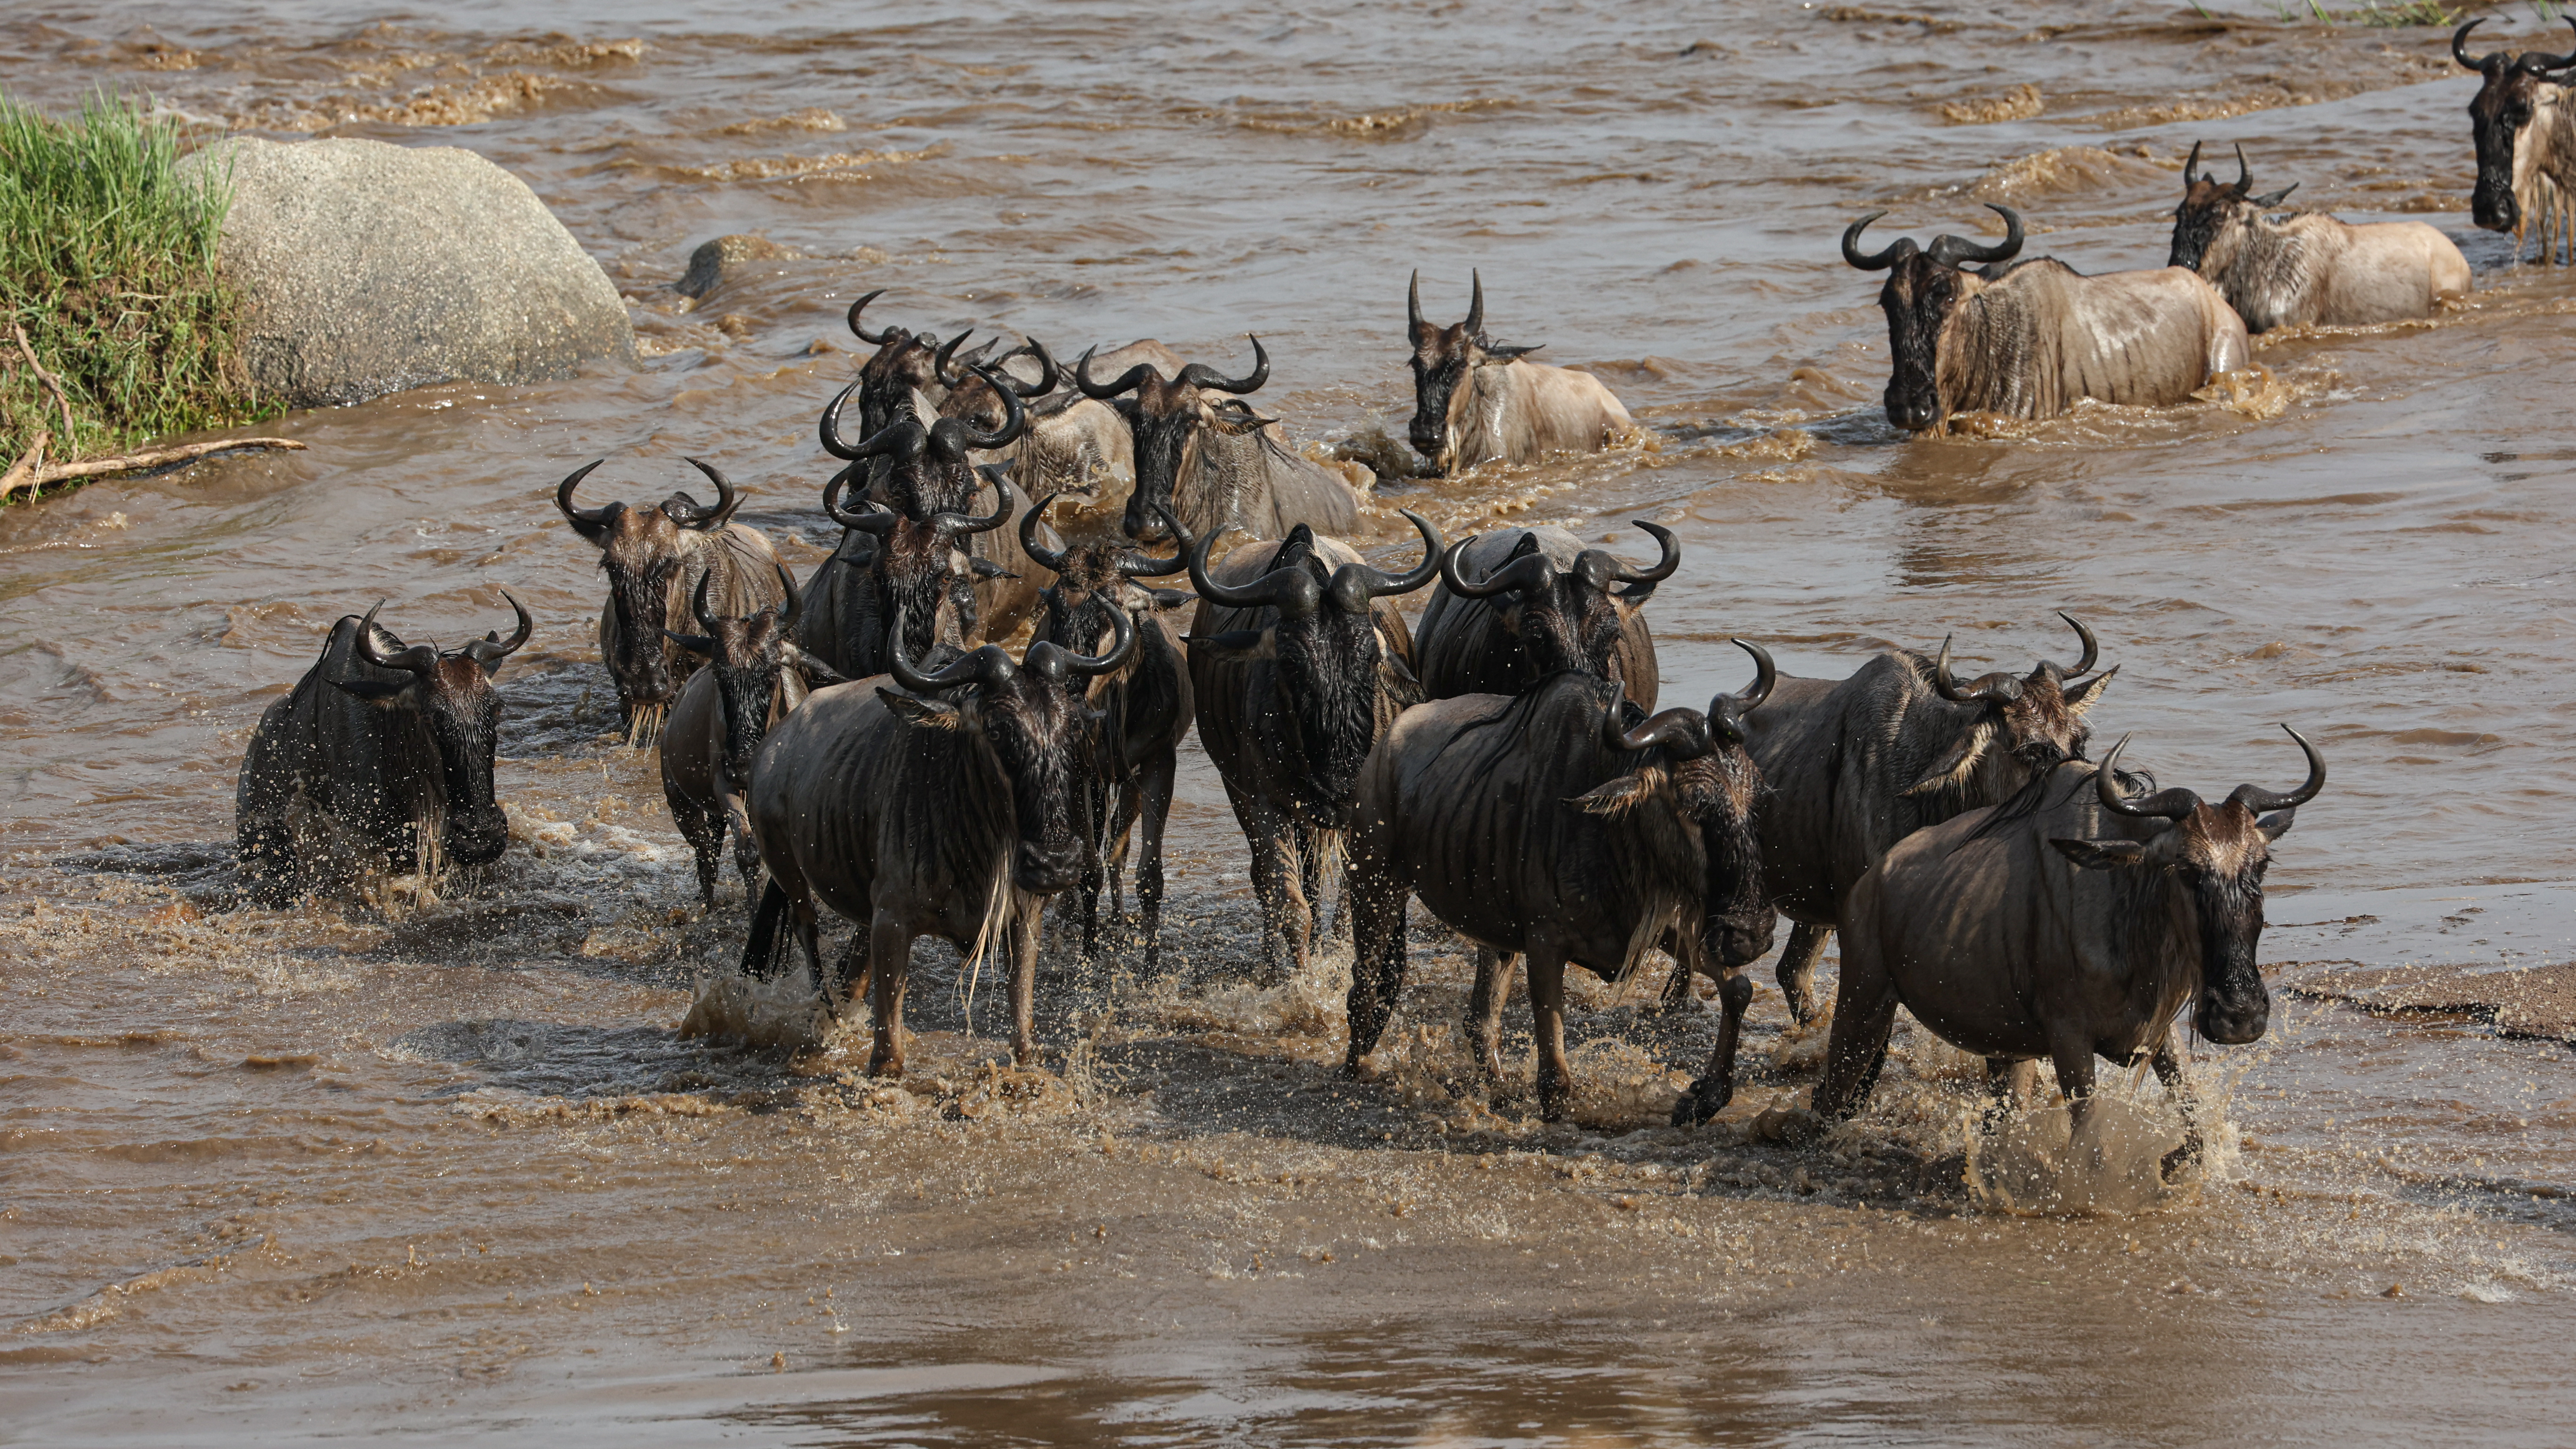
Watch behaviour before pressing the shutter. A change in posture can signal movement, but it is never a guarantee. Leave room in front of a moving animal and use short bursts where helpful, checking that the camera is following the subject rather than foreground grass.
For birds, begin with perched subjects to practise focus and exposure. Flight photography adds speed and tracking demands. Protect highlights on pale feathers and be patient with the background. Do not use calls, food or disturbance to force an animal into a photographic opportunity.
Working from a safari vehicle
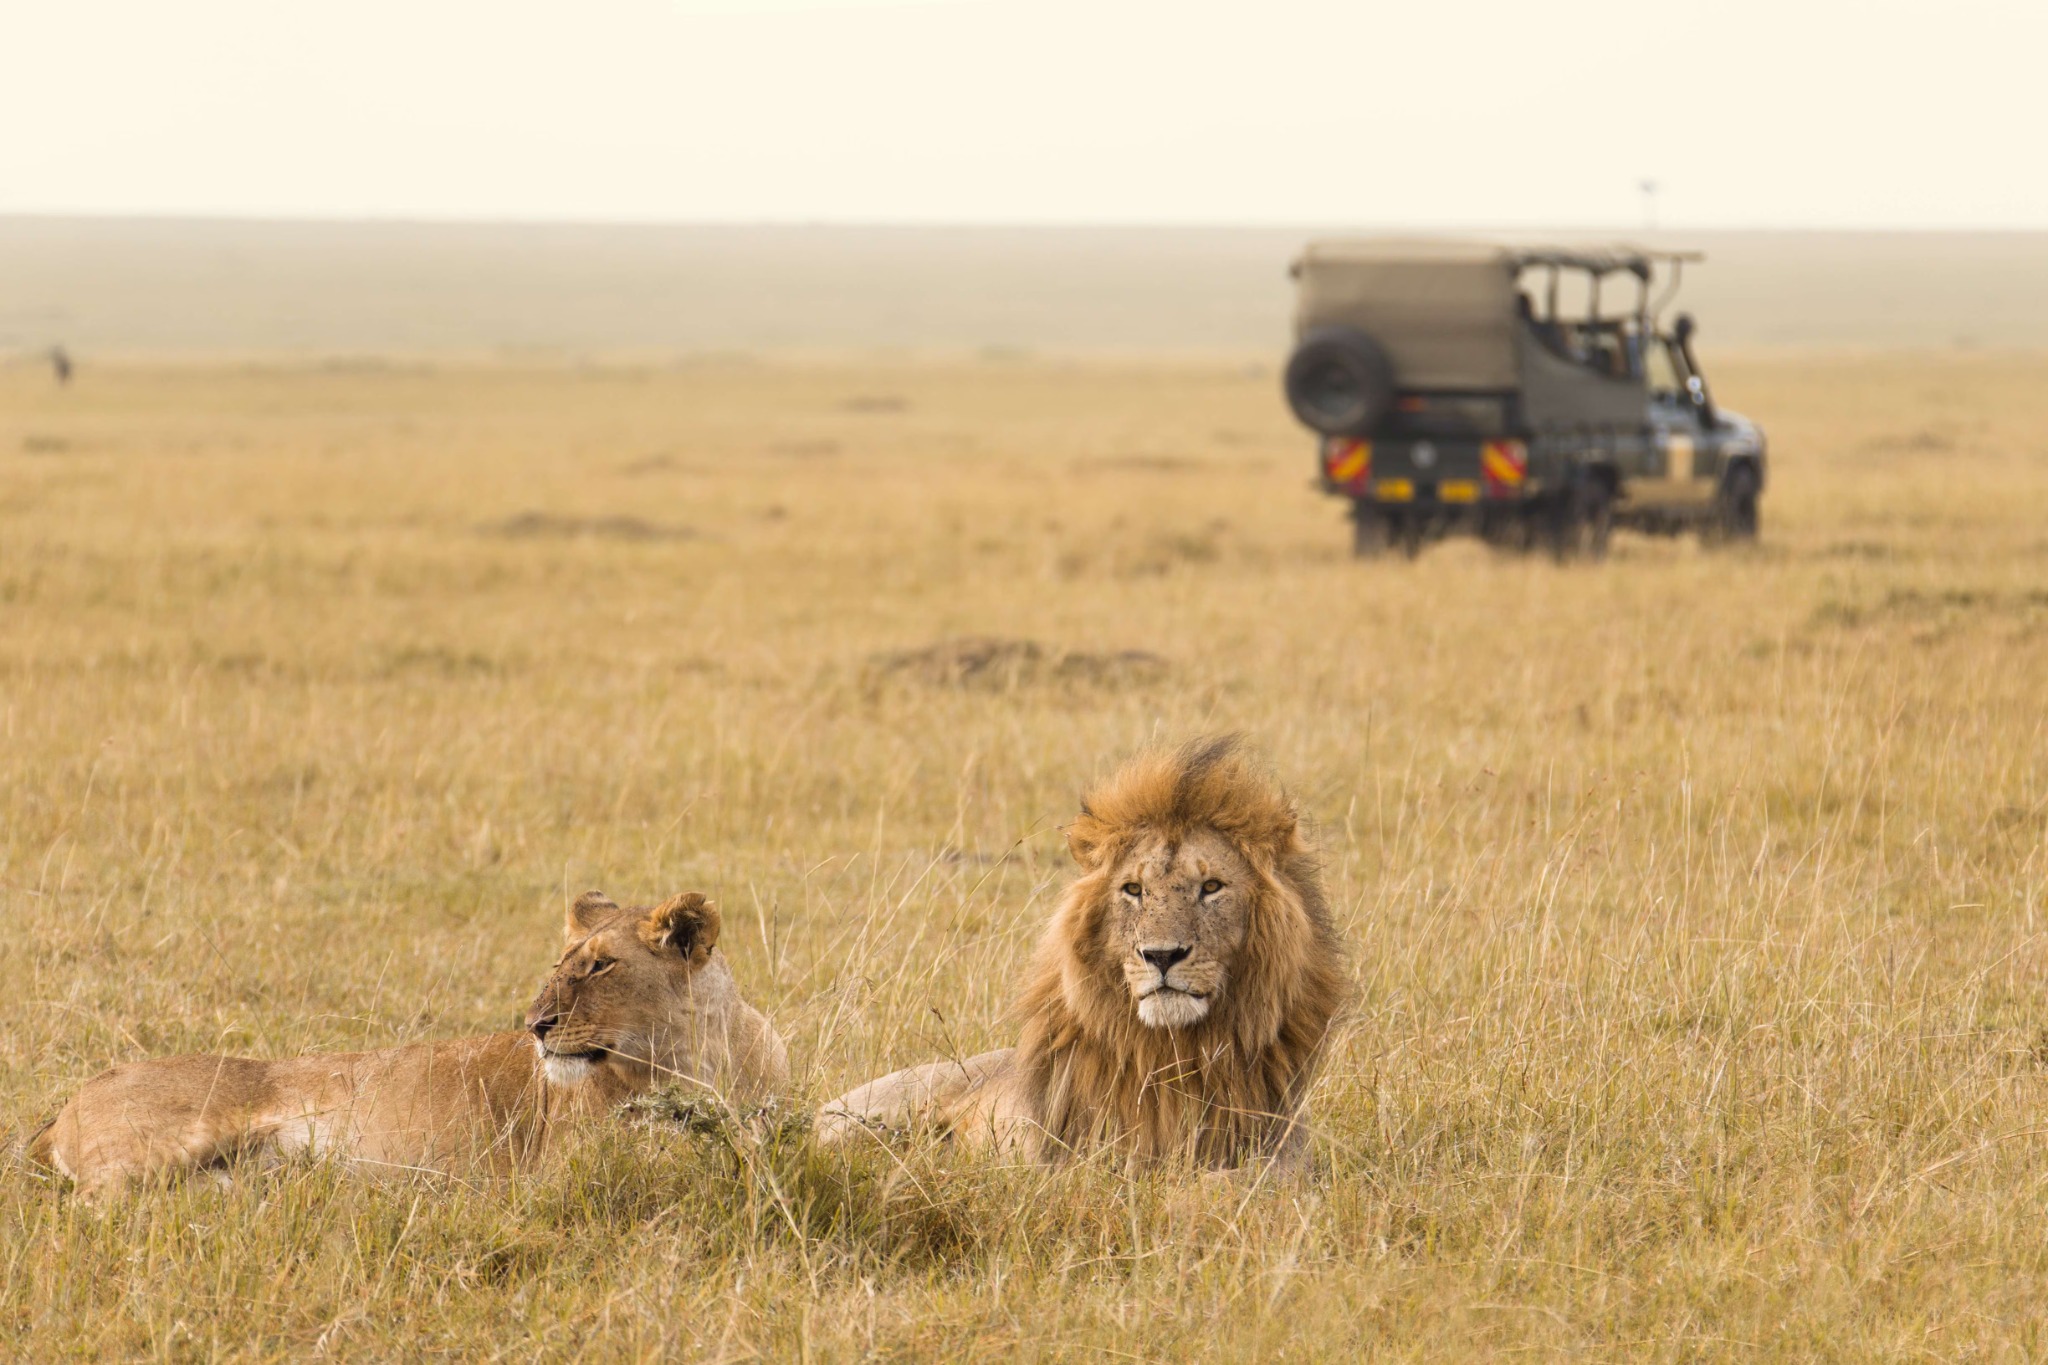
Tell your guide whether you need a wider scene, a cleaner background or time to wait. Ask politely for a safe adjustment and accept when terrain, park rules or another vehicle make it impossible. The guide's responsibility for people and wildlife comes first.
Give other passengers room and keep bags clear of movement areas. Where practical, wait for vehicle vibration to settle before shooting. If sharing with other photographers, discuss seating and lens space beforehand rather than negotiating it during a sighting.
Beanbags, supports and dust protection
A beanbag or suitable padded support can be convenient on a vehicle edge, provided it can be used safely. A tripod may suit camp or landscape work but can be awkward inside a vehicle. Confirm the vehicle layout before bringing bulky supports.
Keep equipment covered between sightings and avoid unnecessary lens changes in dust. Pack a blower, appropriate cleaning cloths and a simple protective cover. Follow the manufacturer's cleaning guidance; brushing or wiping grit carelessly can cause damage.
Batteries, charging and memory cards
Ask the named camps about charging access and hours. Bring compatible plugs, cables and enough charged batteries for the day. Do not assume a vehicle charging socket can run every charger or that electricity is available continuously in every tent.
Carry enough memory cards and organise used cards clearly. Back up to a separate device where practical, verify the copy and avoid deleting the only original. Keep copies apart during transfers. Check your airline's current rules for spare batteries and power banks before packing.
Destinations and seasons for photography
The Serengeti offers varied habitats and resident wildlife, while the relevant migration region changes with conditions. Tarangire combines elephants, trees and distinctive landscapes. Ngorongoro's crater setting offers another visual environment.
The Maasai Mara can suit open-country wildlife photography, and Ndutu is relevant to southern calving-season plans. Decide whether your priority is cats, birds, herds or scenery before selecting the route. Use the photography seasons guide for timing and the wildlife guide for species context.
Photography etiquette and drones
Never pressure a guide to crowd animals, block movement or leave permitted tracks. Keep noise low, respect other vehicles and accept that the welfare of the subject takes priority over a frame. Ask permission before photographing people, including staff and community members.
Do not bring a drone on the assumption that recreational use is allowed. Aviation, park and local permissions can all matter. Obtain destination-specific confirmation before travel; this guide provides no drone operating authorisation.
Planning a dedicated photography safari
Ask for a private vehicle, an appropriate guide, sufficient equipment space and a route with fewer camp changes. Discuss early starts, meal arrangements and the balance between waiting at a sighting and searching elsewhere. Specify whether you want photographic instruction or simply logistics that support your own practice.
Allow more time in the region that matters most, while retaining other wildlife interests if a target species remains elusive. No guide can promise a hunt, crossing or exact animal position. Share a short photographic brief with Wildlux so your proposal reflects the way you want to spend the day.
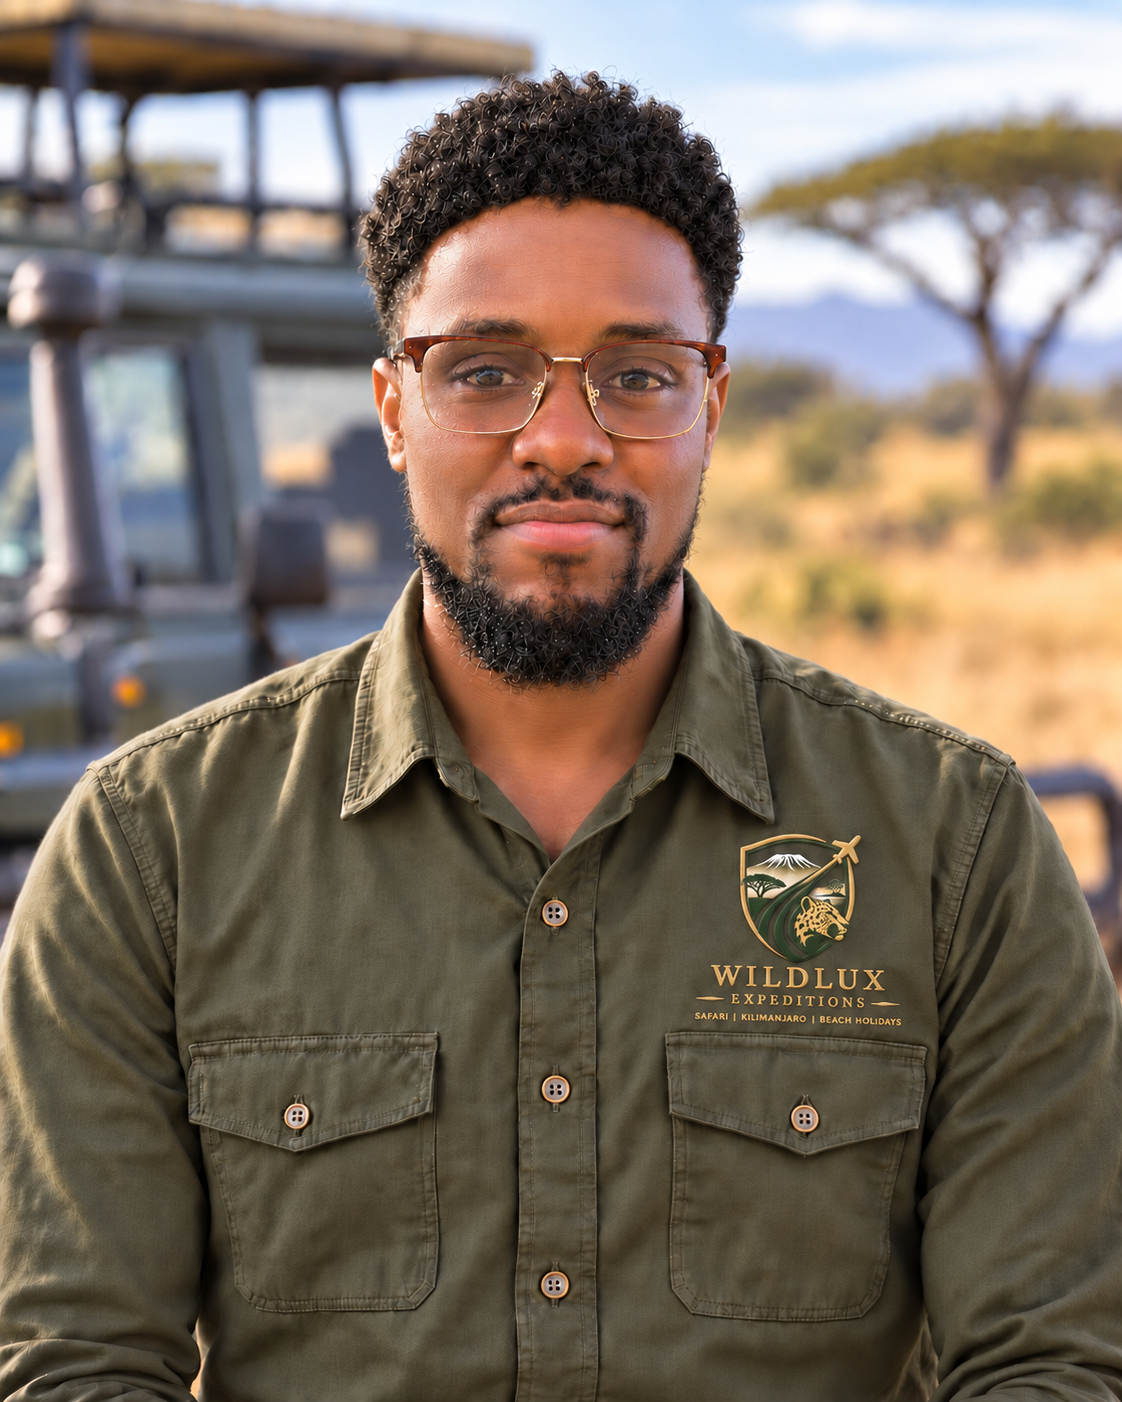
Moses James Aron
Founder, Managing Director & Tour Consultant — Wildlux Expeditions LTD
For Moses Aron, Tanzania is more than a destination—it is home.
View expert profile →